Now that all of our data has been brought into the Dataverse, it's time to make sure it's in the format and structure we expect by comparing our source SharePoint data to our destination Dataverse data.
If your migration was small, you may be able to quickly do a manual validation simply by reviewing the data directly in Dataverse. The Warehouse table from our example only had a handful of records, so that can be easily validated. Random sampling can help when there are no transformations and you simply need to make sure the data landed correctly. For very large datasets that can not be completely validated manually, you have some options using tools such as PowerBI to compare the source and destination.
My biggest piece of advice at this stage is to bring in help. Including subject matter experts such as end users or other stakeholders at this point can help validate the data and test your security roles (which we will discuss in the next article in this series) by ensuring they have access to the data they need as well as if they have access to data they shouldn't.
If you are doing manual checks, it's important to make sure your complex columns such as lookups all contain data. Formatted columns such as decimal and currency don't require as much critique if the first 25 records look correct, but it's always a good idea to sort by high/low to check for outliers. Lookups on the other hand are dependent on the referenced data existing and this can go wrong on a record-to-record basis. This is particularly true if you did a multi-stage import. Trace those import steps to ensure all of the data came in correctly and referenced data exists.
To thoroughly validate large datasets, you can use PowerBI to compare the source and destination data. This works best for one-to-one imports as transformations can complicate the data and recreating the transformations would introduce the same errors if any existed.
However, when used correctly this is a fast way to validate your data.
To connect to your SharePoint and Dataverse data in PowerBI desktop, open PowerBI Desktop and select Get data
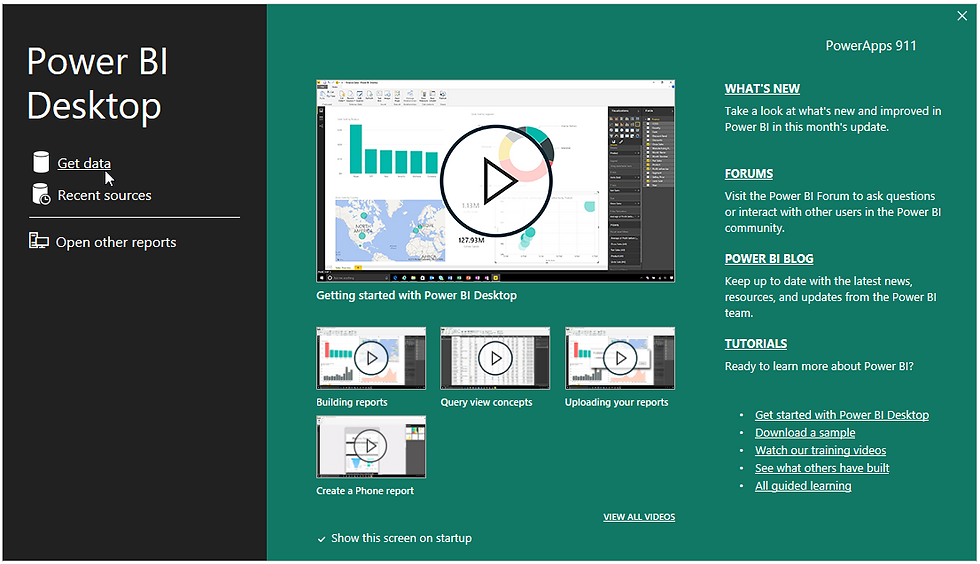
The process from here is pretty similar to when we set up the Dataflows. Select your data source.

Paste in your source's site URL
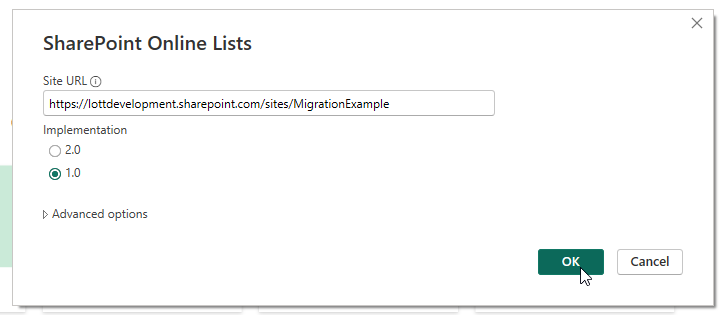
Authenticate through your Microsoft account

Then connect

Select your lists and click Load
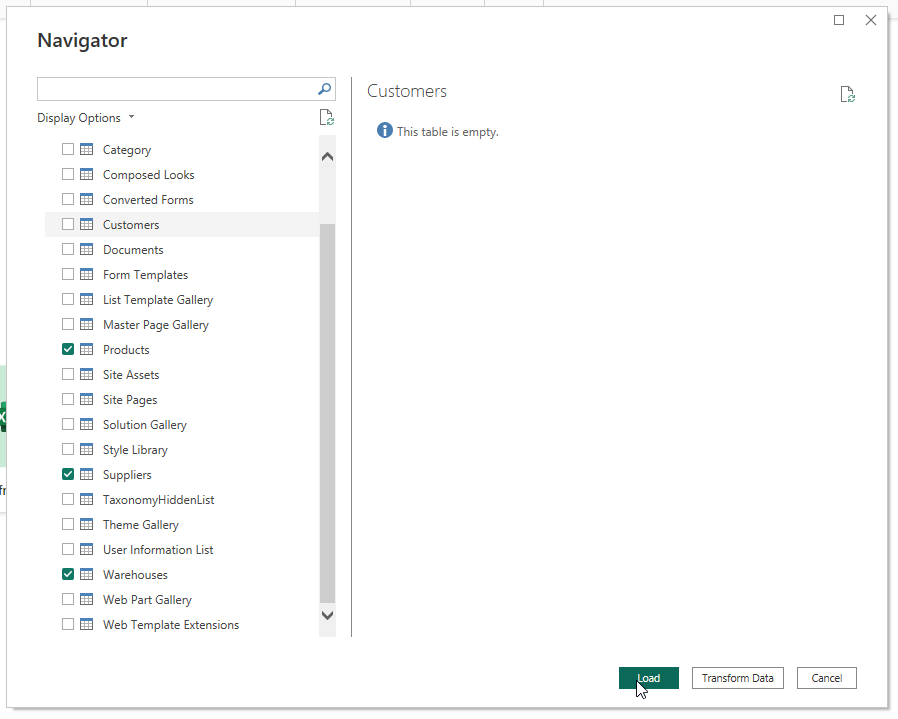
Now, do the same thing with Dataverse as your data source and you'll have both datasets in one place!

After all of your data is in PowerBI Desktop, click the Model view tab
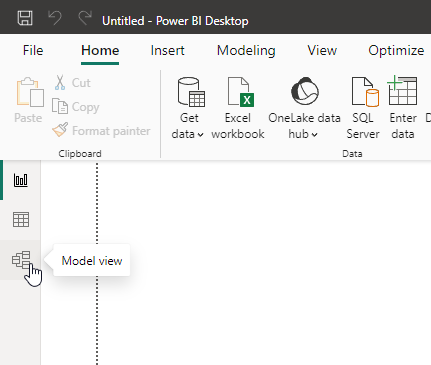
You can create relationships in your data by simply clicking and dragging columns to one another.
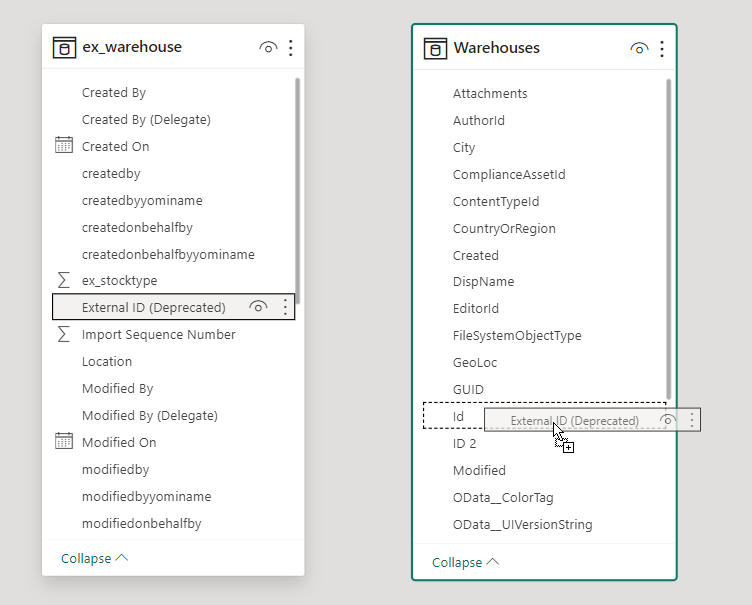
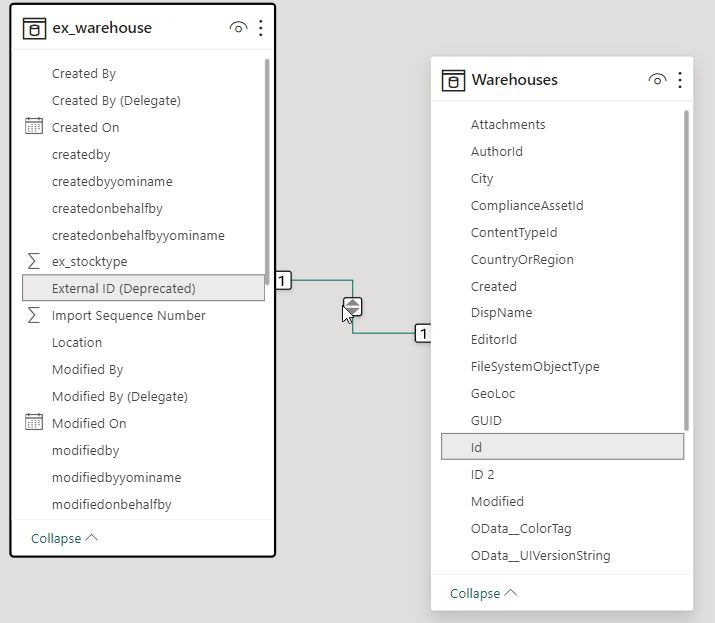
This now gives us the ability to compare data. Back in the Report view, let's create a basic table to compare data.

In the right-hand Data pane, we can see all of our tables are listed. By clicking any of our columns, a table will appear in the editor
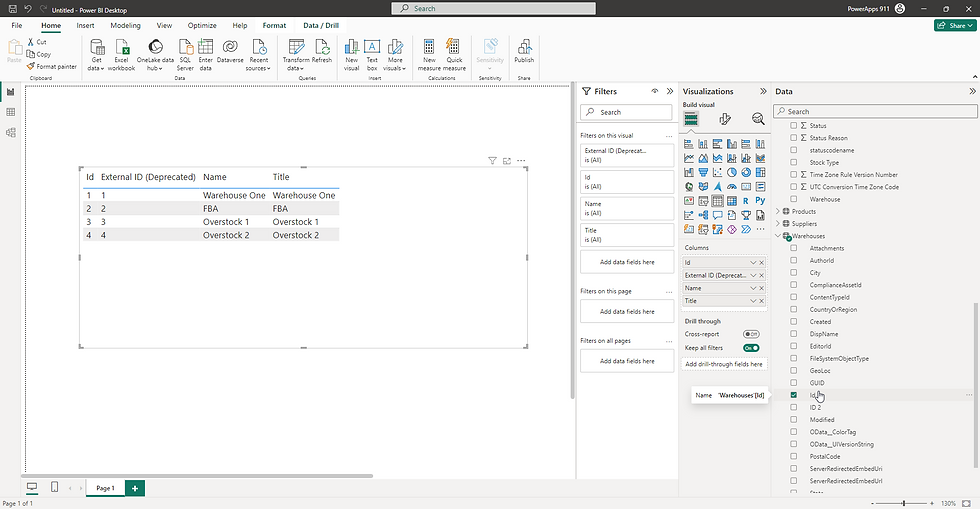
Double-clicking a column will allow you to rename the column. This will not affect the name of the column in the source system, only the reference to the column in PowerBI desktop.
This can give your views such as this for easier review:

We won't do a deep dive into PowerBI here, see the video below for an intro into the tools in PowerBI desktop if you are unfamiliar with some of the capabilities. The basic concept here is that by relating our source and destination data directly and forming a table of that data side-by-side, we can validate the import accuracy.
Another option for validating your Dataverse data is to connect to it via SQL Server Management Studio. This will allow you to perform complex queries on all of your standard and custom Dataverse tables. This method can help quickly find outliers in numeric data, check character lengths in text columns, and check for null values. Microsoft has this process very well documented, so for more information on connecting to your Dataverse instance, click here. SQL has a much higher learning curve than PowerBI, so I would only recommend this solution if you are familiar with SQL already. It is also not easy to query SharePoint data the same way, and relating the data as we did in PowerBI is (as far as I know) not possible.
If at any point you find an issue with the Dataverse data after the initial import, we have set the dataflow up in such a way that will allow you to rerun all or individual parts of the data (if you set up a multi-step import with more than one dataflow). Rerunning the dataflow will perform an upsert on your data, so existing data will be updated and new records will be inserted. If your source data changes whatsoever it's good practice to rerun all dataflows to ensure all data imports into the Dataverse.
This stage is HIGHLY dynamic and I unfortunately can't give anything beyond high-level advice for this stage since every import will be different. However, if you have any questions or comments, leave them below!
In my next article, I'll break down the complexity of Dataverse security and explain how to make sure users can only access the data they are supposed to. This is the first major breakaway from SharePoint as SharePoint's security is not nearly as granular as Dataverse.
Comments